Photo tips
The photo is the whole game.
A great clip starts with a great still. These tips cost nothing, take a minute, and make the biggest difference to what you get back.
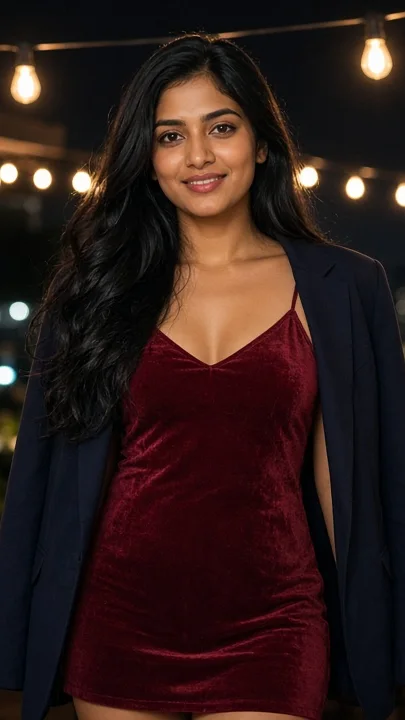
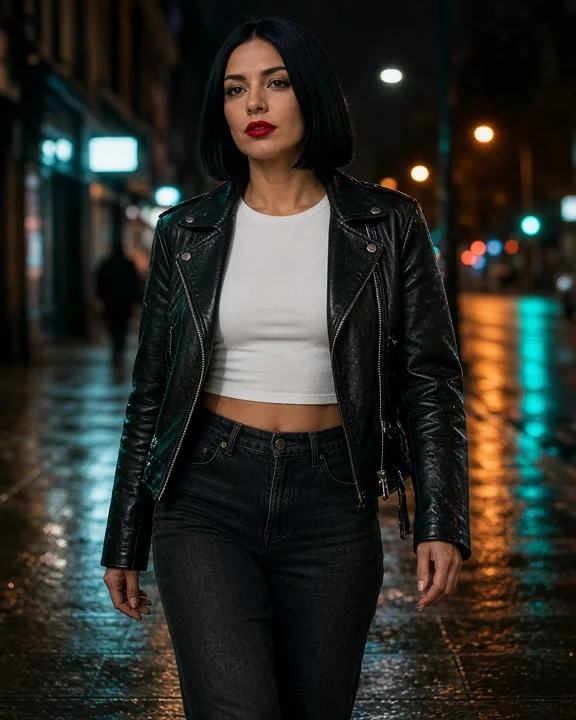
Side light from a sign
A glowing sign to one side gives your face shape and the street a colour. Stand close enough that the light actually reaches you.
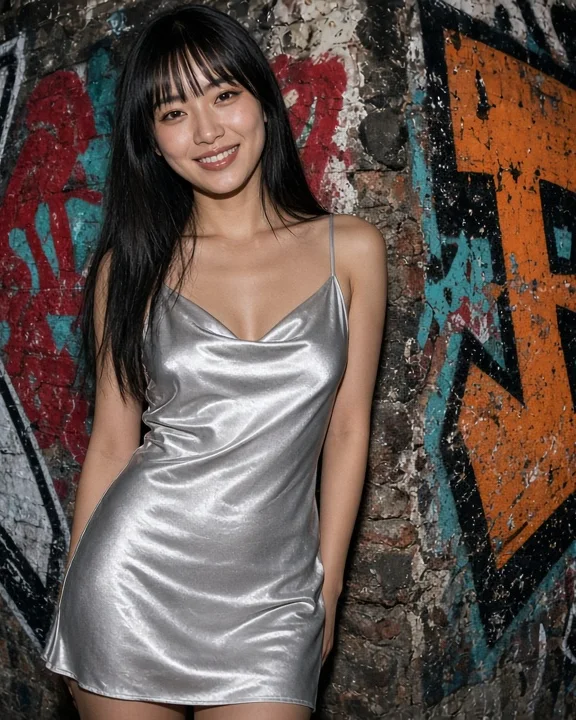
Flash, done right
Direct flash from about two metres suits a loud backdrop. Step off the wall so you do not cast a hard shadow on it.
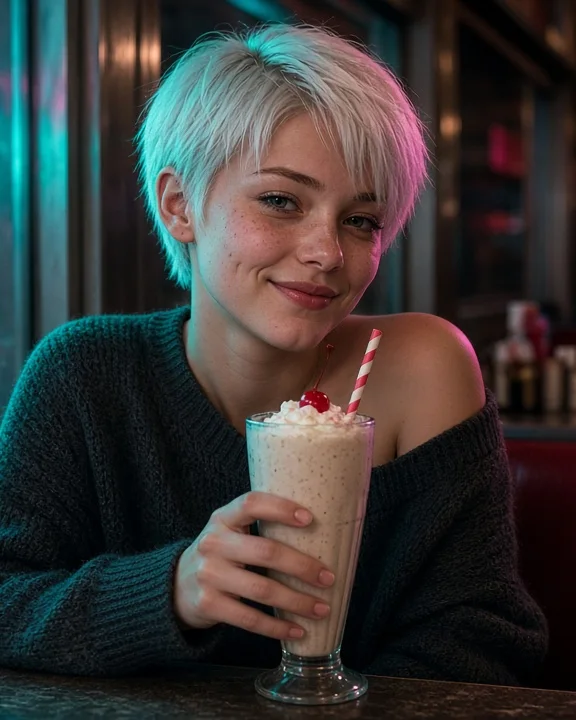
Props and place
A drink, a jacket, a bike helmet. A prop makes the photo feel like a moment, and gives the template something to work with.
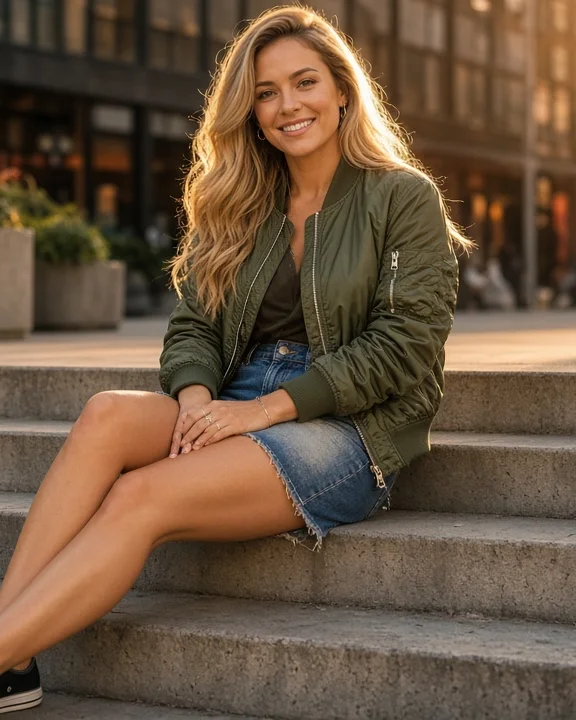
Golden hour
Low sun from the side warms your skin and lengthens shadows. Shoot in the hour before sunset and angle your face a little toward the light.
People shown are AI-generated illustrations, not customers.
The basics
Light first, everything else second.
If you remember one thing, make it light. The generator's own advice is to use a clear, sharp face, bright and even lighting, and a high-resolution photo. Good light gives the AI clean information to work with, such as skin, edges and fabric. Bad light forces it to guess, and guessing is where glitches come from.
- Daytime: shoot near a window or in open shade. Direct midday sun can cast hard shadows under the eyes; turn your face slightly away from it.
- Evening: the hour before sunset is the friendliest light you will get. Let it hit one side of your face.
- Night: stand near something bright: a shop window, a sign, a street lamp. Keep it in front of you or to the side, not directly behind your head.
- Indoors: turn on more lights than feels necessary. Face a lamp or a window.
Make the face easy to see
The face is the anchor. Keep it clear, in focus and uncovered. Sunglasses, a hand across your mouth, hair over your eyes, a mask or a phone in front of you all make the face harder to read and the result less reliable. Front-on and three-quarter views are the safest. Extreme angles, heavy shadows and very wide lenses at close range stretch faces and are best avoided.
Frame it for a phone
Hold the phone upright, since the generator recommends vertical photos for at least one of its modes and a vertical clip fits a phone screen. Keep the full subject inside the frame, with a bit of room above your head and around your arms so nothing is cut off. Use your main camera at its normal zoom. Digital zoom just crops pixels, so you lose detail you cannot get back.
Pick a background that helps
A bold, clean backdrop makes you stand out: a mural, a neon sign, a skyline, a car, a brick wall. Busy backgrounds with lots of people, signs and clutter compete with you and give the AI more to scramble. If the background is crowded, take a step to one side, or lower the phone slightly to simplify what is behind you.
Wear something with character
Strong colours and texture, such as satin, leather, velvet and bright cotton, stay readable in motion. Mid-grey on grey does not. Stylish does not have to mean revealing; plenty of the best-looking frames are jackets, hoodies and dresses. Choose what you feel good in.
File type and size
The generator states JPG or PNG, up to 7 MB. A normal photo straight from a modern phone is often well under that. If yours is not, an export at a slightly lower setting still keeps plenty of detail. Avoid screenshots, photos that have been forwarded through messaging apps, and anything that has been repeatedly re-saved, because each step removes detail.
Take more than one
Shoot three or four frames and pick the sharpest one. Check by zooming in on the eyes. If the eyes are crisp, you are in good shape. If they are soft, shoot again.
Consent rules that never change
- Adults only. Eighteen or over, or the age of majority where you live if higher.
- Use a photo of yourself. The generator's terms ask you to confirm you are the person in the photo.
- Never upload anyone else's photo without their clear agreement, and the generator's terms say you must not.
- Do not use images you found online, in a message thread or on social media.
- Do not present a finished clip as genuine footage of an event that did not happen.
Common mistakes
- Dim photos brightened afterwards: they turn grainy.
- A smudged lens: wipe it with your sleeve.
- Filters that smooth the face into a blur.
- Cropping too close, so hands or hair are cut off.
- Group photos where the subject is hard to identify.
- Uploading a thumbnail instead of the original.
Photo ready? Upload it.
Take the shot, check the eyes are sharp, then give it a go. The first generation is advertised as free.